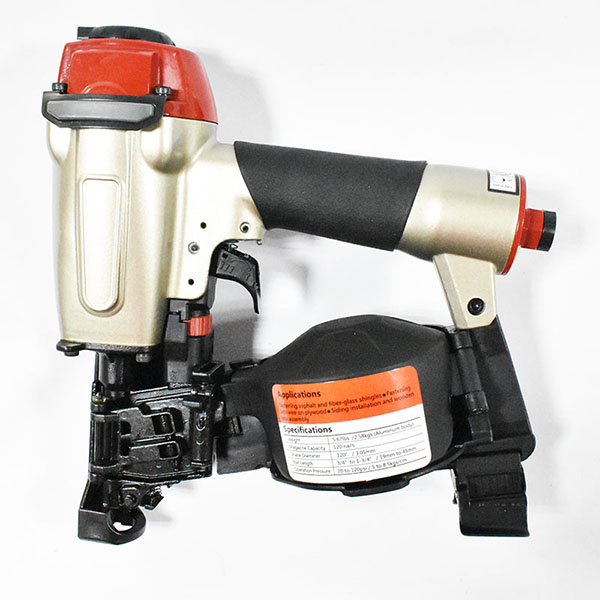
Step-by-Step Guide to Using a Roofing Coil Nailer
Oct 16, 2024
This blog provides a detailed guide for safely and effectively using a roofing coil nailer. It starts with essential safety tips, emphasizing the importance of wearing appropriate personal protective equipment, such as safety glasses and ear protection.
1. Before operation
(1) Wear safety glasses or goggles
(2) Do not connect the air supply
(3) Inspect screw tightness
(4) Check operation of the contact arm & trigger if moving smoothly
(5) Connect the air supply
(6) Check the air-leakage.(the tool must not have the air-leakage.)
(7) Hold the tool with finger-off the trigger, then push the contact arm against the work-pieces.(the tool must not operate.)
(8) Hold the tool with contact arm free from work-piece and pull the trigger.(the tool must not operate.)
2. Operation
Keep hands and body away from the discharge outlet when driving the fasteners because of dangerous of hitting the hands or body by mistake.
Nail loading
(1) Disconnect the air hose.
(2) Press LATCH to open DOOR, then open MAGAZINE COVER.
(3) Adjust the height of NAIL SUPPORT according to nails length.
(4) Fix the first nail in the groove on FEED PAWL.
(5) Close MAGAZINE COVER, close DOOR.
(6) Connect the air hose.
Test operation
(1) Adjust the air pressure at 70psi. (5 bar) and connect the air supply.
(2) Without touching the trigger, depress the contact arm against the work-piece. Pull the trigger.(the tool must fire the fastener.)
(3) With the tool off the work-piece, pull the trigger. Then depress the contact arm against the work-piece.(the tool must fire the fastener.)
(4) Adjust the air pressure as much as the lowest possible according to the diameters and length of fastener and the hardness of work-piece.
Read More
